DIY:
Take Home Pie Boxes
Three Designing Women®

Turkeys, pies, and mashed potatoes . . . oh my! With so much food brought to the table, there’s bound to be some leftovers! These pie boxes are great for your guests to bring home, and a wonderful memento for them to remember you by!
Materials:
- Three Designing Women® Designer Stamp®
- Printed Pie Box Lid Template (on yellow card stock)
- Printed Pie Box Bottom Template (on craft paper)
- White card stock
- Scalloped hold puncher (at least 2 1/4”)
- 7” x 7” tissue paper
- X-acto knife / scissors
- Glue
- Twine
- Ruler
- Regular hole puncher
- Scrap paper
Step 1:
Cut out the templates for the pie box with your x-acto knife or scissors.
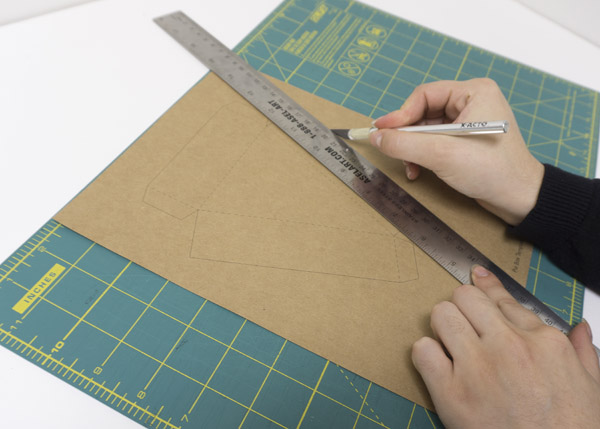
Step 2:
Fold the template on the dotted lines.
Note: Scoring the lines with a bone folder or the back of your x-acto knife before folding will make it easier to fold.

Step 3:
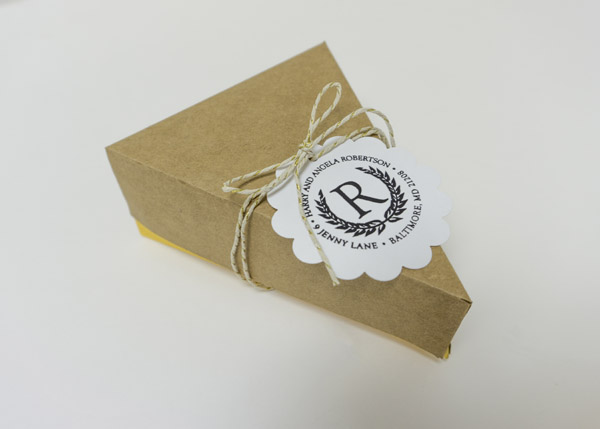
Glue your folded tabs to the side adjacent to it.

The end result should look something like the picture below. Repeat the first three steps to make the lid and bottom of the pie box.

Step 4:
Using your scalloped hole puncher, punch a hole into your white card stock for your tag.
Note: If you do not have a scalloped hole puncher, use scissors to cut out a shape for the tag.

Step 5:
Take your Three Designing Women® Designer Stamp® and stamp your newly made tag.

Step 6:
With the regular hole puncher, make a hole at the top of your tag for the twine.

Step 7:
Cut the twine (at least 18” in length) and string it through the hole in your tag.

Step 8:
Place your scrap paper underneath the tissue paper, and begin to stamp it. Don’t worry, it doesn’t have to be even.
Note: Make sure you place the scrap paper underneath the tissue paper before you begin to stamp. Since the tissue paper is so thin, it WILL bleed through.

Step 9:
Stuff the pie box bottom with the tissue paper. Make sure the right side is up!

Step 10:
Go ahead and put the lid on the bottom portion and wrap the twine with your tag around the entire box.
Note: To secure the twine in place, tape the twine on the bottom of the box.

And presto! Your take home pie box is now complete!
Show us how your pie boxes turned out with our social media pages!